The use of drywall in creating ceilings and interior walls has taken hold over the last few years. A lot of people are looking at drywall as a simple, effective, and affordable solution for internal walls and ceilings and the great thing is that you can indeed install it on your own without any issues. But it’s not a simple walk in the park. Although Aurora siding can take a few simple steps, for someone who’s doing this for the first time, things can get a little complicated. You need a guide and we have one for you.
Here are a few simple DIY steps that you should take when installing drywall in your home:
Step 1 – Installing Supporting Screws
The first step is to install the supporting screws. Start by leaning a piece of drywall against the wall horizontally. Go ahead and drive long screws on the studs that are often close to the edges of the same drywall that you want to install. The screws need to be left protruding from the studs in order to be able to support the drywall that’s about to be installed.
Step 2 – Mark the Wall
You will need a framing square and a pencil for this job. You will then go ahead and draw light lines on the drywall so that the areas where the studs are located are clearly marked. This will make it easier for you when you are driving the screws in.
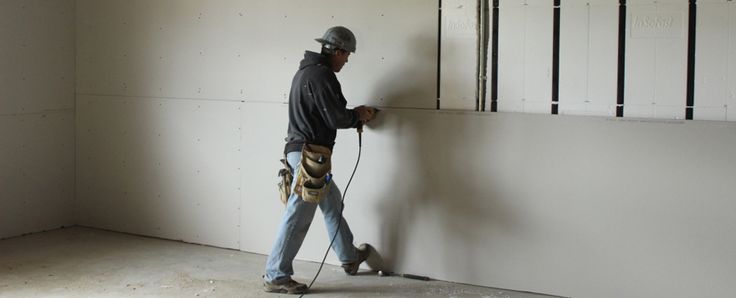
Step 3 – Securing the Upper Piece of the Drywall
The third step is to now secure the drywall to the studs using the screws. The screw head must be driven in so that it’s slightly below the paper surface. Some people may be tempted to over tighten the screws but this is a mistake. In case you accidentally drive these screws beyond the paper surface, remove and drill another screw next to it but this time do it right.
Step 4 – Installation of the Lower Piece
Start this step by removing the supporting screws that you installed in step 1. Once this is done go ahead and lean the bottom part or piece of the drywall on the wall. The stud lines should then be transferred to the piece and then use screws to secure the drywall to the studs. Finalize by applying the mesh tape along the joints between the two pieces. You are also advised to apply joint compound at this stage.
Step 5 – Sanding the Surface
Once you do vinyl siding Aurora, CO, it has to be smoothened out. You will need to sand the surface very carefully. However, this can only be done once the joint compound you applied in step 4 above is dried. Once the sanding has been done and the joints smoothened out, go ahead and apply the primer and the paint. This process should be repeated until the drywall becomes smooth.
Well, these are some of the simple steps that you should take in order to install drywall and as you can see, they are quite simple.